Showing posts with label DIY. Show all posts

Wednesday, March 11, 2015

The House

I've been a little absent on the blog lately. At first it was intentional and then completely by accident. You see...I bought a house. I'm really quite proud of it actually. It's an adorable little white house that's the perfect size and shape for me. 

If you're a home owner you know the buying process is exceptionally stressful and time consuming, so you will forgive me for my absence. 

This major step in life is usually paired with other life events like marriage, or moving across the country for "big" jobs. I have accomplished neither but this was the needed next step in my life.

What this means now is that you'll get to look forward to lots of decorating, DIY, and emotionally overwhelmed homeowner posts.

I'm very excited! I hope you enjoy some of the very first pictures of the inside. Consider these the before photos.


Monday, February 2, 2015

DIY Modern Antique Frame

I've become very fond of white and antique frames lately. I was able to purchase a few at our local Hobby Lobby. Unfortunately I wasn't able to afford anymore. As luck would have it, after patrolling Pinterest for a few hours I realized I could make my own!

If you'd like to find out how to make your own Modern Antique Frame just keep scrolling, scrolling... scrolling.


 What you will need:

  • Thrift Store Frames (These beauties were found for just 25 and 50 cents each.)
  • Paint Primer
  • Paint colors of your choosing
  • White Spray Paint
  • Sponge Brushes
  • Coarse Sand Paper

50 Cent Frame
 25 Cent Frame


Step 1:

Remove all glass and any parts that may come off. Then clean off any debris and apply a light coat of primer over the entire frame. (Yes that is a cow print drop cloth...don't judge.)


Step 2:

After the primer has dried paint the frames with a thick coat of paint in your choice of color. Allow to dry over night.


Step 3:

Once frames are dried, coat with white spray paint until the entire frame is white again. Allow frames to dry over night and paint to harden completely.


Step 4:

Once the paint has dried and hardened completely use very coarse sand paper to sand off the top layer of paint where you choose. You can sand as much as you like. No two frames will be the same.


Step 5:

It's all finished! Add some hangers to your frame put in a lovely picture and you're all set to decorate.


Or if you're feeling really adventurous go ahead and use some string and miniature clothes pins on bigger frames to give it a more homemade look. Enjoy!


Saturday, January 17, 2015

DIY Upcycled Book Purse

I recently stumbled upon this gloriously easy DIY that turns beautiful old books into fashionable useful clutches. One look at the tutorial and I was sold.

You can see the tutorial here at abeautifulmess.com.
The instructions are super easy to follow and the results are stunning.

Here are some pictures from my attempt. If you'd like to see how I did it just keep scrolling, scrolling....scrolling.


If you need more detailed instructions please check out the link above.

What you will need:

  • Old Hard Back Book
  • 1 yard of fabric or two one dollar bundles of fabric from Walmart
  • Marker
  • Scissors
  • Hot Glue Gun
  • Purse/clothing snap
  • Iron/Flat iron
  • Needle and Thread


Step 1: 

Find an old hard back book. I tried to find a book title that was relevant to my life. As a traveler and thrift store discoverer I was happy to find this book for four dollars at a local used book store. Hint: The thicker the book, the wider your purse will open.


Step 2: 

Cut out book pages. I know it's painful, but the result is worth it.


Step 3:

Cut fabric to about one inch bigger than the book, and set it to the side.  Then line the inside of the book by hot gluing a thin layer just shy of the edges. Cut out side panels and hot glue them to the ends of the book.
This step is given in much more detail here.


Step 4:

Create a snap for your purse. They can be sewn or hot glued on to the first set of lining. Be creative with this step. the crazier the clasp the better.

I found my snaps at Walmart in the fabric section.

Step 5:

Fold lining set aside to be approximately the size of the book. Hot glue the final layer in. This step can be extremely tricky if your folded edges are not ironed flat. Being the non-ironer I am, I used a flat iron and ran it along the folded edges to create a crisp line.


Step 6:

Enjoy your cute new clutch!


Sunday, October 5, 2014

DIY Halloween Window Clings

I've made it a new life resolution of mine to start celebrating holidays. So first up is Halloween. I found this insanely simple craft on.....you guessed it, Pinterest. So if you'd like to find out how I made these cuties just keep scrolling, scrolling,...scrolling.


What you will need:

  • Templates (Mine are just print outs of Halloween clip art)
  • Puffy paint in your desired colors
  • Parchment paper
  • Paint brush *optional*

Step 1:

Decide what design you are using, lay it on a flat surface and cover with parchment paper. You may want to secure it with tape to keep everything still.

Step 2:

Once everything is secure start by painting the outline. Let this sit for a couple of hours to harden. 

Tip: The longer it has to harden the easier it is to fill in.


Step 3:

Fill in the rest of your color. You can either apply it straight from the bottle or like I did. I used a paint brush to spread out the paint. Keep in mind the thinner the layer of paint the harder it is to peel of without ripping.

Step 4:

Let it dry over night. It is easiest to peel off the parchment paper when it is 100% dry. Once peeled off you are all done! The side that was not stuck to the parchment paper is the side that will stick to the window.


This is a great project for any holiday and it can be stored and reused each year. I hope you enjoyed and try it yourself!

Sunday, August 17, 2014

DIY Rock Cactus

I MADE A THING!

Do you have a love for green plants while simultaneously having a special talent for killing them? BEHOLD! A solution to that exact problem. 

Fake cacti!

If you'd like to see how you too can have the perfect plant just keep scrolling, scrolling...scrolling.

What you need...

1. River rocks (color doesn't matter)
2. Acrylic paint and/or glitter 
3. Paint Brushes
4. Glass bowl or Terracotta pot 


Step 1:

Prime the rocks....

Observe these rocks in their natural habitat. 

Step 2:

Paint the rocks with their main color. I chose three different shades of green.


Step 3:

Choose a design and start decorating your rocks in a cactus pattern. I decided to have an accent rock that I covered in glitter. (Now my house is covered in it.)


Step 4:

Wait for it all to dry and put it together!

I filled up the rest of my glass bowl with the rocks I didn't use. I have seen many with sand or dirt used to hold up the rocks.


Now my fake cacti will go perfectly with my fake flowers and I'll have year round non-dying plants.

PERFECT.


If you make your own fake plant, to brighten up your life without the guilt of killing something accidentally. I want to see it! Send me pictures. Hope you enjoy this easy DIY.

Saturday, May 10, 2014

DIY Bleach Design T-Shirt

It's DIY time!

I'm getting ready for an upcoming trip and I needed some new, really cheap, but still cool shirts to pack. Here's what I came up with. It's easy, creative, and you only need a few supplies.

If you want to learn how I made this Doctor Who inspired shirt, just keep scrolling, scrolling...scrolling.

What you will need:

  • 1 cheap 100% cotton t-shirt (color of your choice)
  • 1 Bleach pen
  • Clear contact paper (optional depending on your design)
  • Stencil (It's very easy to free- hand a design, but this one required a stencil.)
  • Running water
  • Exact-o knife


Step 1:

Cut out your stencil and place it on the contact paper. Tape it down so that it won't move around. Once you have it secured, start cutting your design into the contact paper using your Exact-o knife.


Step 2:

Peel the paper backing off of your cut-out stencil and place onto the t-shirt (sticky side down.) Make sure the stencil is firmly stuck to the t-shirt.


Step 3:

Use the fine tip of your Bleach pen to outline your design and fill in any open spaces. Wait 30 minutes after finishing before washing off the bleach. The longer the bleach sits the lighter the design becomes.


Step 4:

Quickly wash off bleach with cold water, this is so the bleach doesn't run. Use hand soap to wash all remaining bleach off. Then wash separately in cold water with washing detergent. Let it dry, and you're done!


Tada! All done!


If you tried this for yourself, please send me pictures!


Sunday, April 27, 2014

Half Twist Halo Tutorial


I get asked a lot, "How did you do that to your hair?" No one believes me when I tell them it took only two minutes. So I made a video to prove it to everyone.

This hair style is easy for traveling because you can lay on it and the messier the better! It's also great for formal events because you can polish it off with hair spray. 

Disclaimer: I am in no way a professional hair dresser. Most days I can barely get my own hair to behave. This one is easy and takes only three things to complete the look. I hope you like it and, if you have the hair to pull it off, try it.

If you do pull it off on your own, send me pictures! I want to see your beautiful hair! *non creepy*


Monday, April 14, 2014

DIY Window Picture Frame

Have you ever strolled through a flea market or yard sale, saw an old window and thought "I can do something with that!" I do that too! One day I got the nerve to buy one of those windows and this is what I did.

If you want to see how I turned an old window into a really epic picture frame just keep scrolling...scrolling, scrolling.


What you will need:

  • 1 old "unloved" window
  • Wet rag (To clean off window)
  • 1 Wax pencil
  • Puff paint like this in any colors you want (Found at almost all Walmart and Craft Stores)
  • Pictures you want to show off
  •  *Optional* If you choose to paint the frame of your window you will need paint for this step. My window stayed as it's original color.

Step 1:

Clean your new found and unloved window. Make sure to remove any dirt from the frame and glass panes. If there are any pieces of metal sticking out of the frame (like on mine), it's a good idea to remove any sharp pieces.

Step 2:

Use your wax pencil to map out a design of your choosing on the glass. (On my window I used a regular pencil to map out the design on the frame.)

*Quick Tip* Draw your design on the front side of the glass. That way you can just trace over the wax pencil with the puff paint on the back side. Once you are done painting just wipe off the wax pencil on the unpainted side. This also keeps the smooth surface on the front of the window.


Step 3:

Once your Puff Paint has dried, clean up all excess wax pencil markings or regular pencil markings using your wet rag. Use this time to touch up any mistakes you might have made.

 Step 4:

Add all of your pictures. TADA! A one of a kind way to show off all of your favorite memories.

I hope you enjoyed making your own Window Picture Frame. If you have any pictures of your project, I would love to see them!

If you would like to check out any of my other DIY projects you can find them here, here, and here.


Wednesday, April 2, 2014

DIY Travel Magnets

I did it again....another Pinterest Win and this one is even easier than the last.

If you're like me you have a ton of currency left over from your last trip. If not, maybe you have a really boss coin collection that you've been wanting to show off. Keeping them locked in a box or sitting in a drawer won't do them justice. Here is a VERY easy DIY magnet project I found on Pinterest. It takes less than five minutes and half as many supplies.


If you want to learn how I made these ridiculously easy and very chic magnets...just keep scrolling, scrolling, scrolling.


What you will need:

  • Coins (of your choosing)
  • Magnetic buttons - Found in the craft aisle of Walmart or basically any craft store.
  • Craft glue *optional*

Step 1:

Find small round magnets that are approximately the size of your coins or smaller. These magnets can have an adhesive back on them already (like the ones below) or you can glue the magnets to the back of your coins. Then choose the coins you would like to turn into magnets.


Step 2:

Attach magnets to one side of the coin in the center. For mine I did one on the back of a coin and one on the front of a coin, as I had two of each.


Step 3:

That's it! Find the perfect place to show off your new awesome magnets!


I hope you found this to be and easy an fun DIY project. If you make some of your own I'd love to see pictures!


Tuesday, March 11, 2014

Easy DIY Color Pop Painting

Can I just say....I had a Pinterest Win! A lot of times we browse Pinterest, see all of the beautiful DIY crafts, and think to ourselves "I can do that!" No, unfortunately you probably can't do that. BUT! You can do this. It is in fact, pretty simple to do and takes less than a day (including drying time.)

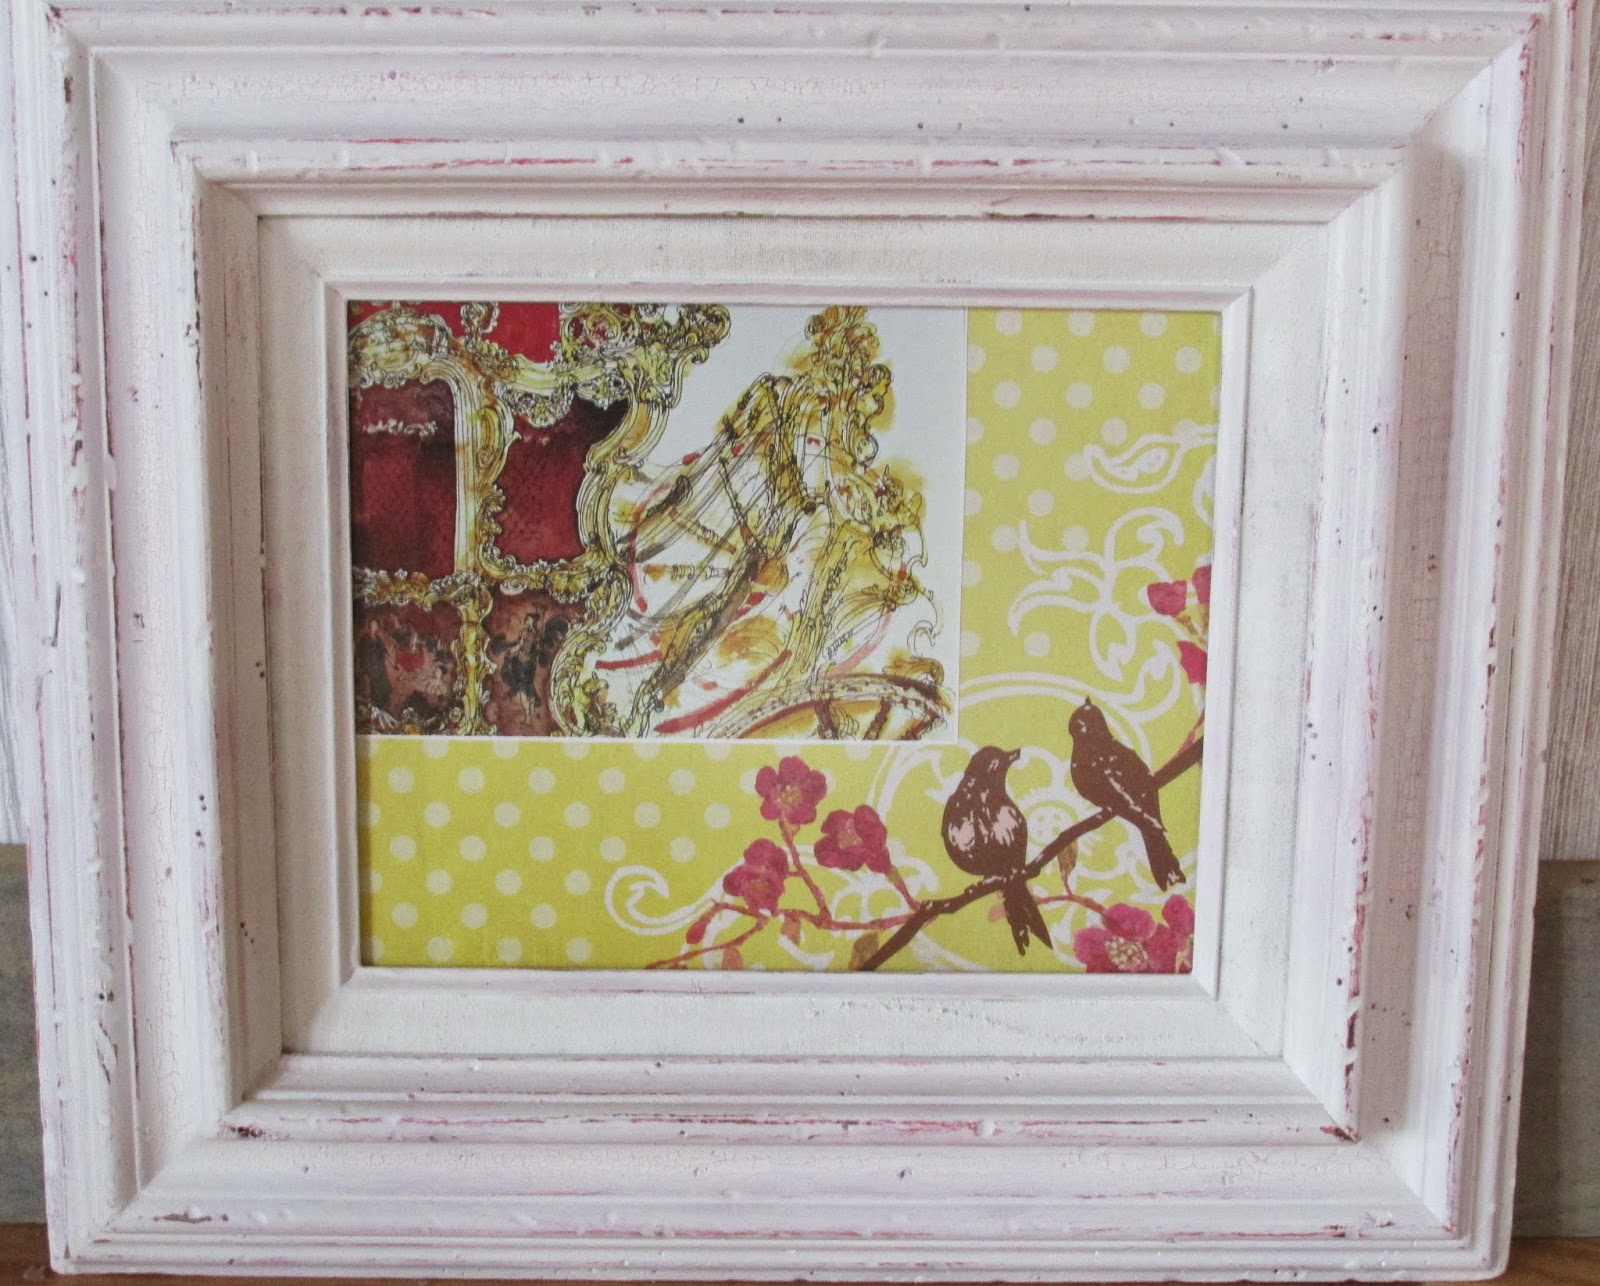
I call this my Color Pop Painting, because in all reality that's pretty much all I use it for.


If you're interested in learning how I made this....just keep scrolling, scrolling, scrolling. 

What you will need...

  • A canvas that is the size of your choice. I think the one I used was 16" by 20".
  • Paint brushes, nothing fancy just something to get the paint on the canvas.
  • Acrylic paint, at least three colors. In my painting I mixed my colors together to make more than three.
  • Masking tape or Painter's tape. These can be any size since they can be cut to the size you want, but I used two different widths.

Step 1:

Using your different colors, paint broad strokes covering the canvas. It doesn't have to be perfect. The more uneven the better. Try to avoid having the same colors touch, other than that...go crazy. Don't forget to paint the edges!

Step 2:

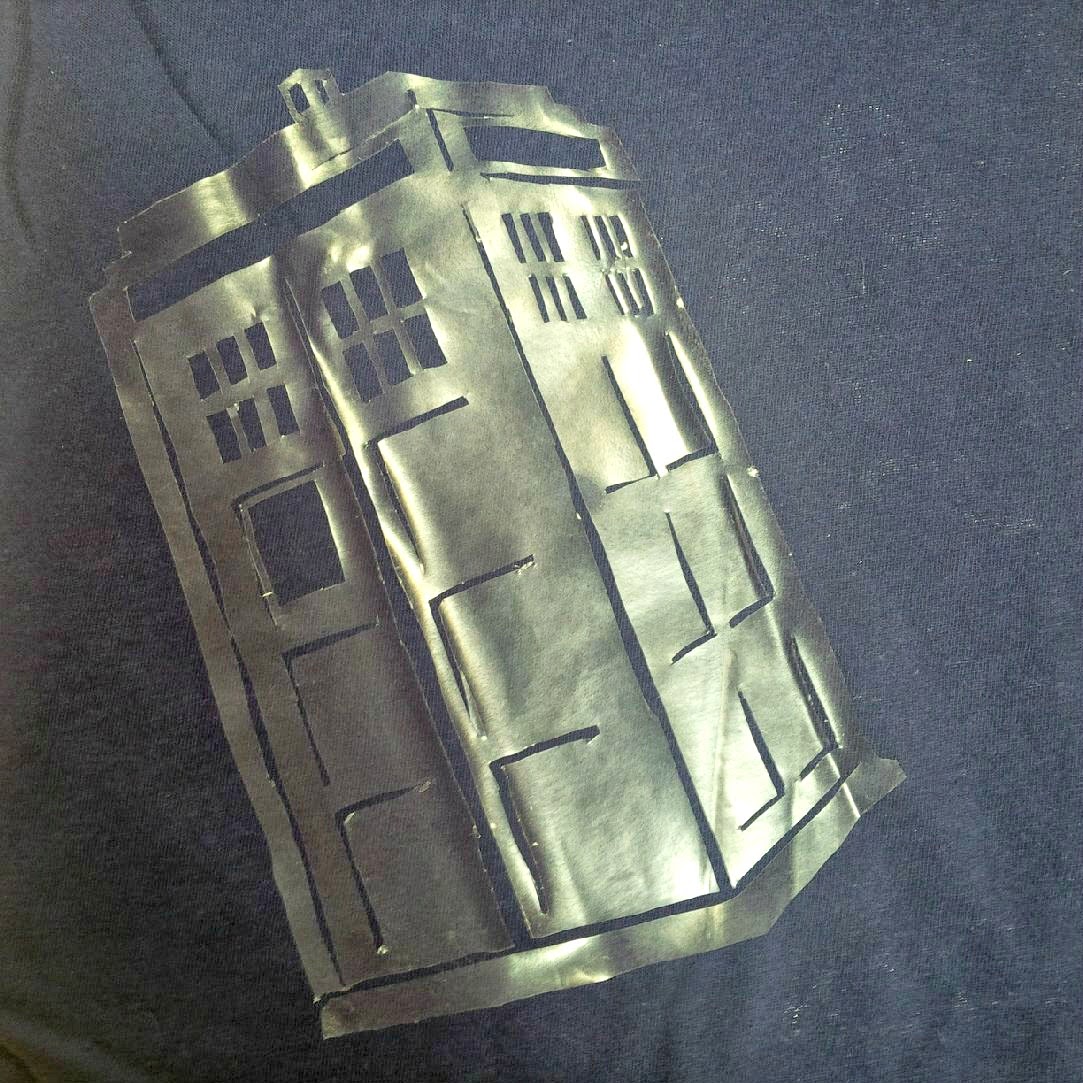
Once the colors have finished drying, tape a reoccurring pattern over the top. The spaces between tapes will depend on how thick you want your pattern to be.

Step 3:

Once you have finished taping, use a color that you haven't used yet to paint over the un-taped places. This can be a lighter or darker color. If you are worried about this paint getting under the tape, then to make sure your tape has a better seal give your painting a day to dry before taping. I was in a hurry so I taped after a few hours. 

Step 4:

Once that layer of paint has dried (the fun begins) remove your tapes. Enjoy the masterpiece that you just created in only a few easy steps!

Tada...this is my finished piece in it's new home. See why it's called a Color Pop now?


Do you have any easy DIY projects that you know can be done? I'd love to hear about them.


Related Posts Plugin for WordPress, Blogger...