Showing posts with label Pinterest. Show all posts

Saturday, March 28, 2015

My Home Style Inspiration

We've reached the stage of no return when it comes to the house. IT'S DECORATING TIME! 
 Unless you can't tell I'm more than a little thrilled by this, and I'll try and give you a few insights into my plans.
 
Somewhere along the way I decided to call my new home The Lake House and a theme was born.
 

My goals for this house are:

 
1. Subtle but still noticeable beach theme.
 
2. Anything that can, will be glass.
 
3. Stick to a classic black and white color palette with blue being the accent color.
 
4. Flowers....flowers everywhere. 

I've already started buying things to decorate my home with. Although to be completely honest I've been collecting for my future home for years now. Hobby Lobby is now my new "Home Style" best friend, and glass buying enabler. 

Once everything calms down a little bit I will film a homeware haul where I'll show everyone what I've already collected to decorate with. Below are just a few of my photo inspirations that I refer to when deciding what to buy or not.
 
 
Found at suburble.com
Nautical Mason Jar Lantern Tutorial- Turn your old mason jars into patio lighting!  - Suburble.com 
Living the Anthropologie way of life...: DIY Anthropologie Home Decor Part II... 
 Found at bobvila.com
Simple ideas to dress up your home! #DIY #Glass http://stores.ebay.com/Udderly-Good-Stuff
Silverware storage ...

Thank you so much for coming on this adventure with me! I look forward to giving random updates along the way and then a final home tour. If you have any new home owner suggestions or decorating suggestions in general, please feel free to share! (I can't do this all by myself)

Monday, February 2, 2015

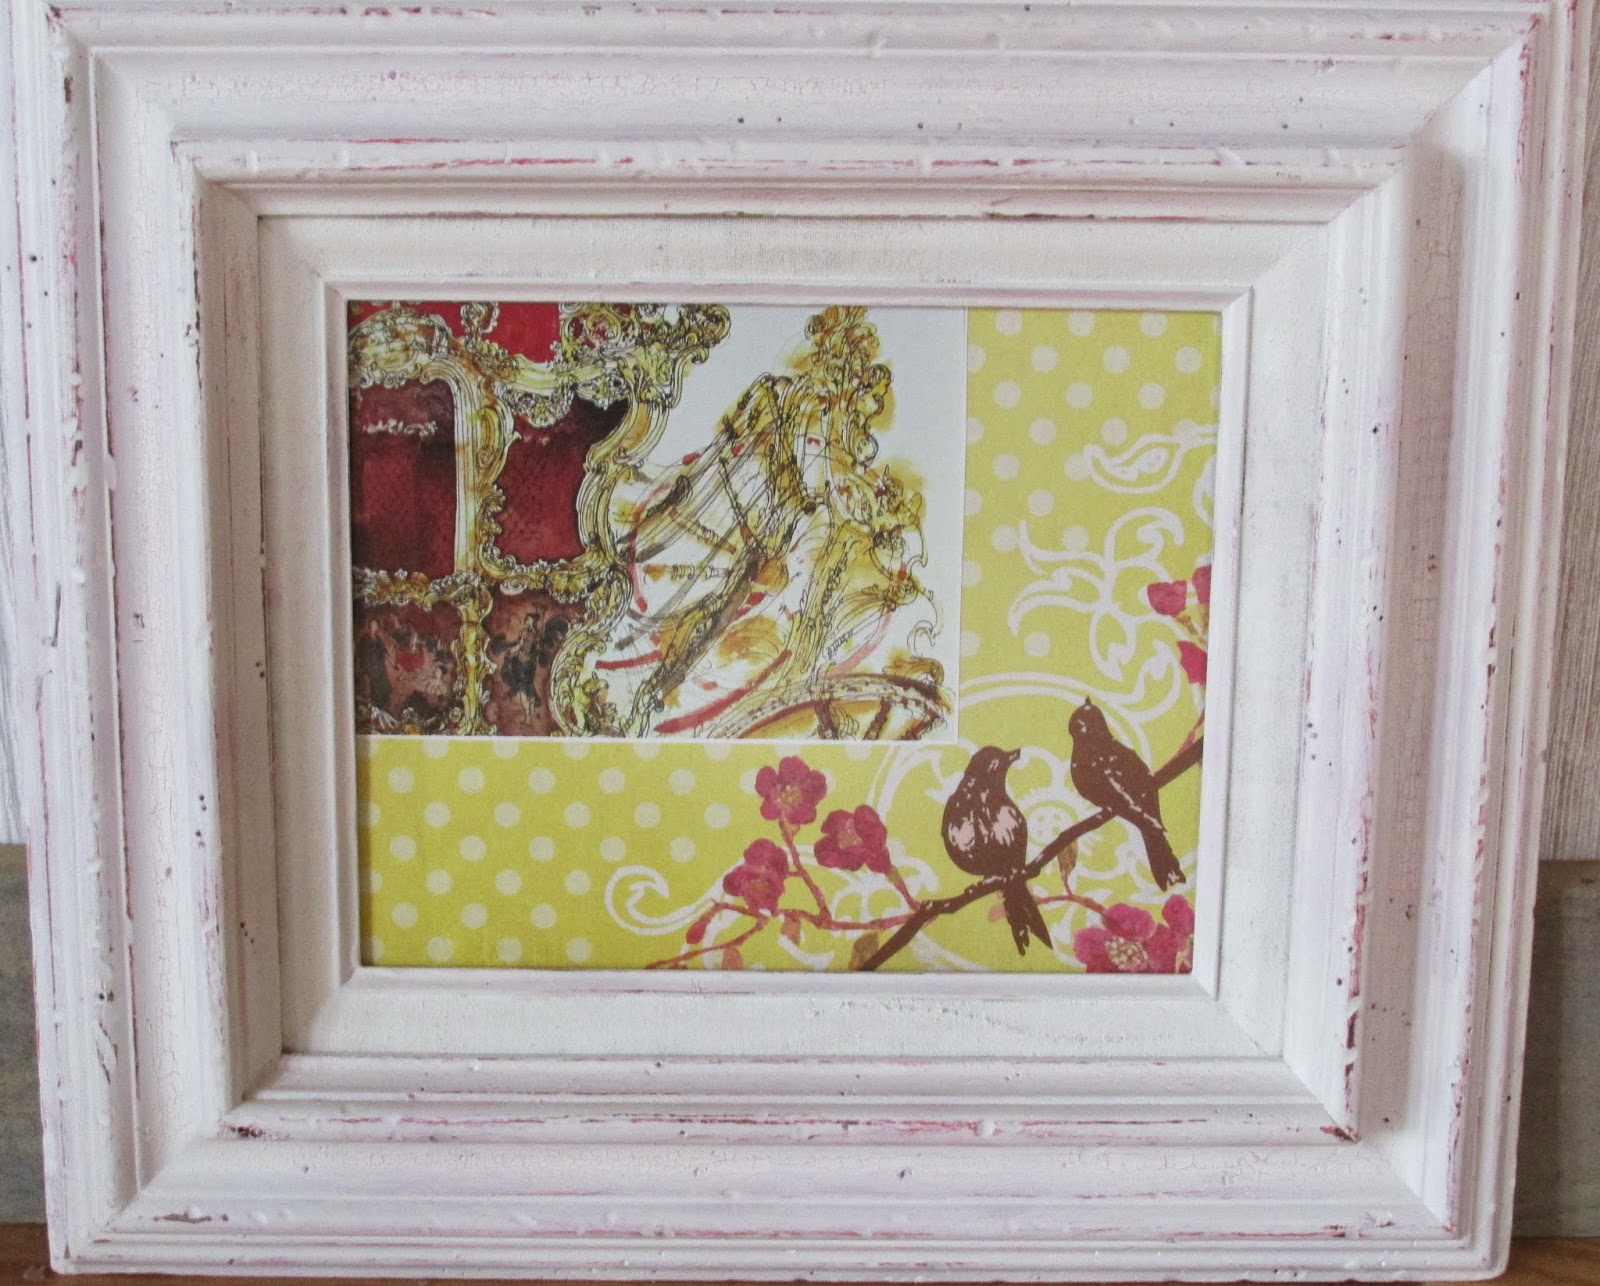
DIY Modern Antique Frame

I've become very fond of white and antique frames lately. I was able to purchase a few at our local Hobby Lobby. Unfortunately I wasn't able to afford anymore. As luck would have it, after patrolling Pinterest for a few hours I realized I could make my own!

If you'd like to find out how to make your own Modern Antique Frame just keep scrolling, scrolling... scrolling.


 What you will need:

  • Thrift Store Frames (These beauties were found for just 25 and 50 cents each.)
  • Paint Primer
  • Paint colors of your choosing
  • White Spray Paint
  • Sponge Brushes
  • Coarse Sand Paper

50 Cent Frame
 25 Cent Frame


Step 1:

Remove all glass and any parts that may come off. Then clean off any debris and apply a light coat of primer over the entire frame. (Yes that is a cow print drop cloth...don't judge.)


Step 2:

After the primer has dried paint the frames with a thick coat of paint in your choice of color. Allow to dry over night.


Step 3:

Once frames are dried, coat with white spray paint until the entire frame is white again. Allow frames to dry over night and paint to harden completely.


Step 4:

Once the paint has dried and hardened completely use very coarse sand paper to sand off the top layer of paint where you choose. You can sand as much as you like. No two frames will be the same.


Step 5:

It's all finished! Add some hangers to your frame put in a lovely picture and you're all set to decorate.


Or if you're feeling really adventurous go ahead and use some string and miniature clothes pins on bigger frames to give it a more homemade look. Enjoy!


Sunday, October 5, 2014

DIY Halloween Window Clings

I've made it a new life resolution of mine to start celebrating holidays. So first up is Halloween. I found this insanely simple craft on.....you guessed it, Pinterest. So if you'd like to find out how I made these cuties just keep scrolling, scrolling,...scrolling.


What you will need:

  • Templates (Mine are just print outs of Halloween clip art)
  • Puffy paint in your desired colors
  • Parchment paper
  • Paint brush *optional*

Step 1:

Decide what design you are using, lay it on a flat surface and cover with parchment paper. You may want to secure it with tape to keep everything still.

Step 2:

Once everything is secure start by painting the outline. Let this sit for a couple of hours to harden. 

Tip: The longer it has to harden the easier it is to fill in.


Step 3:

Fill in the rest of your color. You can either apply it straight from the bottle or like I did. I used a paint brush to spread out the paint. Keep in mind the thinner the layer of paint the harder it is to peel of without ripping.

Step 4:

Let it dry over night. It is easiest to peel off the parchment paper when it is 100% dry. Once peeled off you are all done! The side that was not stuck to the parchment paper is the side that will stick to the window.


This is a great project for any holiday and it can be stored and reused each year. I hope you enjoyed and try it yourself!

Saturday, May 10, 2014

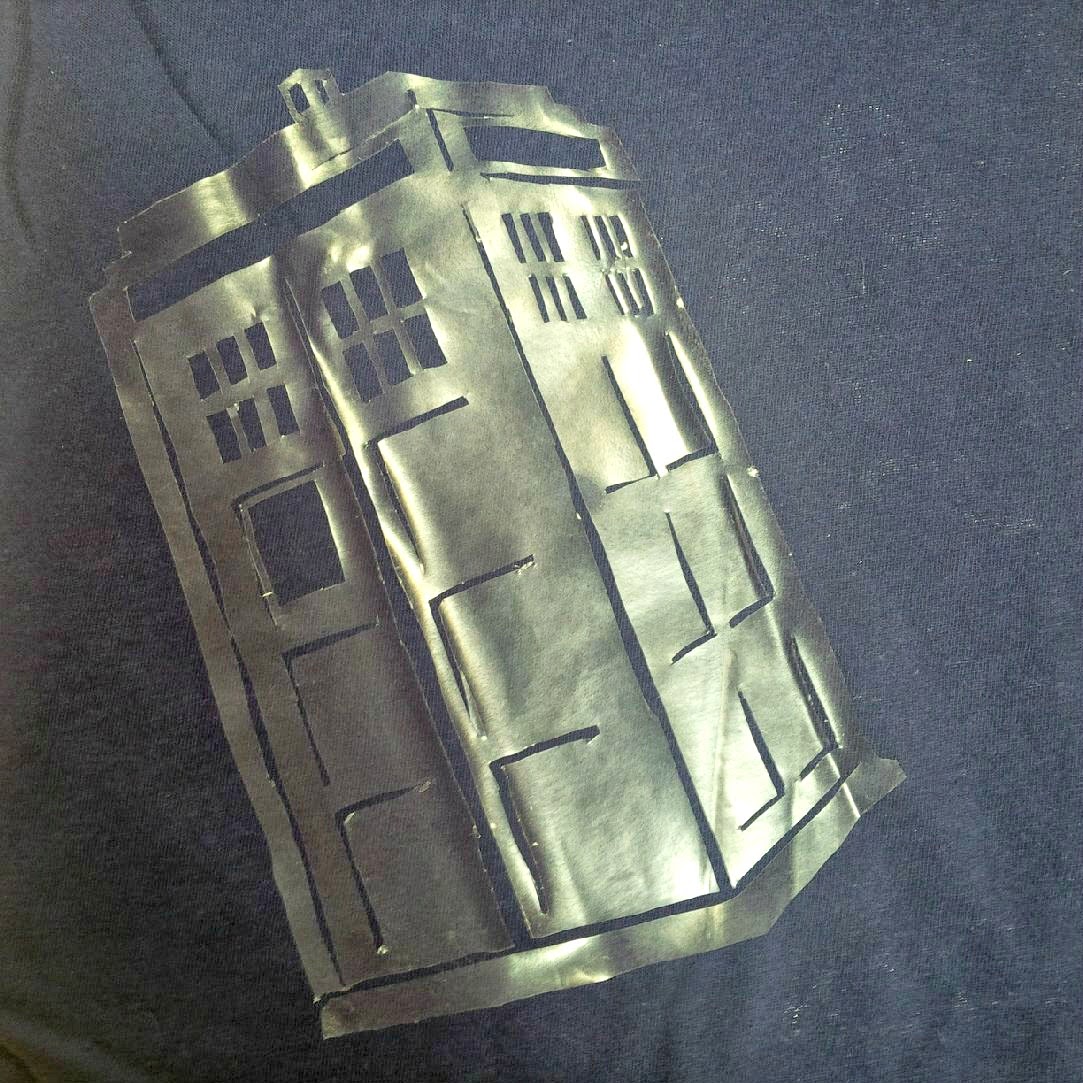
DIY Bleach Design T-Shirt

It's DIY time!

I'm getting ready for an upcoming trip and I needed some new, really cheap, but still cool shirts to pack. Here's what I came up with. It's easy, creative, and you only need a few supplies.

If you want to learn how I made this Doctor Who inspired shirt, just keep scrolling, scrolling...scrolling.

What you will need:

  • 1 cheap 100% cotton t-shirt (color of your choice)
  • 1 Bleach pen
  • Clear contact paper (optional depending on your design)
  • Stencil (It's very easy to free- hand a design, but this one required a stencil.)
  • Running water
  • Exact-o knife


Step 1:

Cut out your stencil and place it on the contact paper. Tape it down so that it won't move around. Once you have it secured, start cutting your design into the contact paper using your Exact-o knife.


Step 2:

Peel the paper backing off of your cut-out stencil and place onto the t-shirt (sticky side down.) Make sure the stencil is firmly stuck to the t-shirt.


Step 3:

Use the fine tip of your Bleach pen to outline your design and fill in any open spaces. Wait 30 minutes after finishing before washing off the bleach. The longer the bleach sits the lighter the design becomes.


Step 4:

Quickly wash off bleach with cold water, this is so the bleach doesn't run. Use hand soap to wash all remaining bleach off. Then wash separately in cold water with washing detergent. Let it dry, and you're done!


Tada! All done!


If you tried this for yourself, please send me pictures!


Monday, March 31, 2014

I Liked It, So I Put a Pin on It

This is probably the laziest post I have ever written, but how are you supposed to find out who I am if I don't show you?


These are some of my absolute favorite things I have found on Pinterest. I think they sum me up pretty well.


Two of my favorite boys from the band Mumford & Sons.


I would pay very good money to find this dress and add it to my wardrobe. VERY GOOD MONEY.

This is what tea does. Tea loves you.

Via

From my favorite book of all time The Book Thief. For me this was the most heartbreaking line in the whole book.
Via


Via

Just because I couldn't let you live the rest of your life without seeing this puglet.

I hope you enjoyed my best/favorite pins. What are some of yours?


I don't own any of these photos. When the source was available I linked it back, and others have the source written directly on the photo.....I'm just saying legally I don't claim any of them.
Related Posts Plugin for WordPress, Blogger...